How to Frame a Canvas Painting: A Complete Beginner's Guide
Framing a canvas painting doesn't have to be expensive or complicated. With the right tools and techniques, you can create a professional-looking frame that enhances your artwork and saves you money. Whether you're working with a stretched canvas or need to stretch one yourself, this guide will walk you through every step of the process. Let's transform your beautiful canvas painting into a properly framed masterpiece that's ready to display!
Essential Tools and Materials for Framing Canvas Paintings
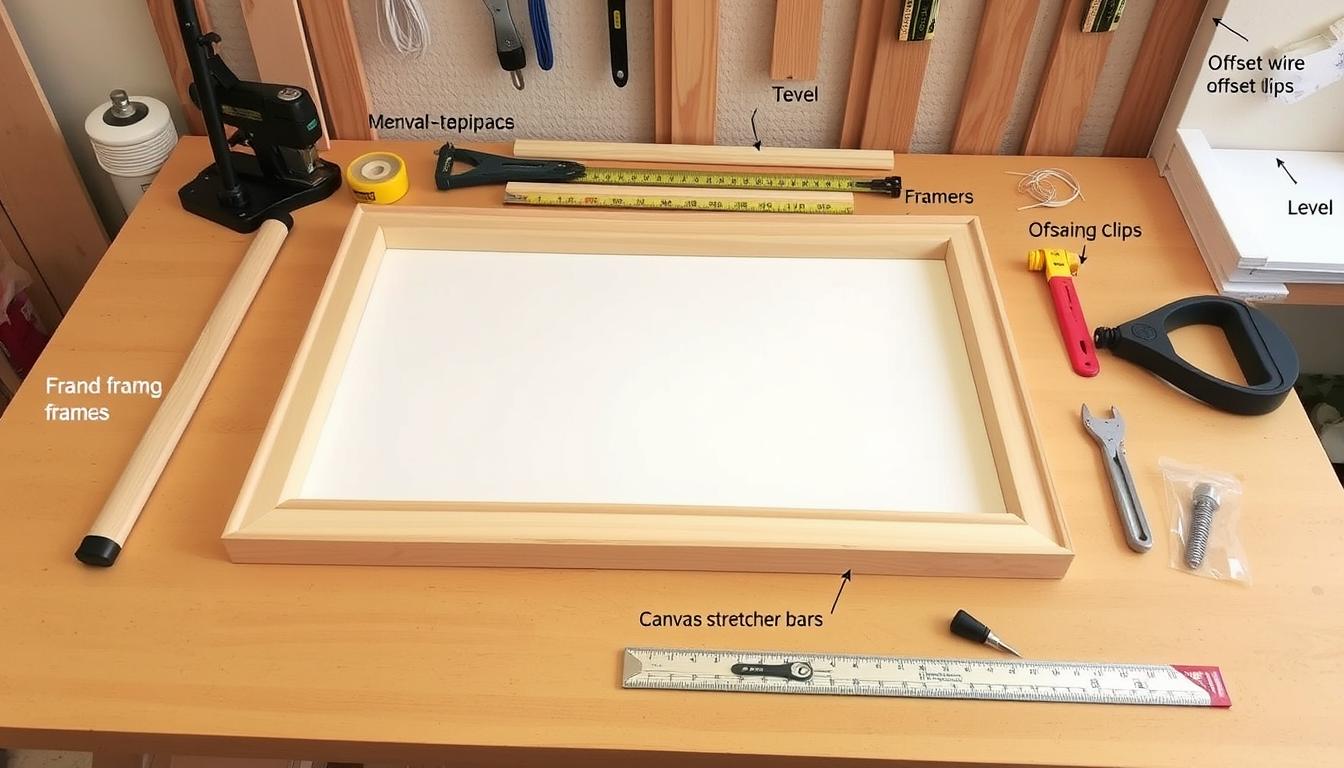
Essential tools and materials for a successful canvas framing project
Before diving into the framing process, gather all the necessary supplies. Having everything ready will make your framing project go much more smoothly.
Measuring and Stretching Your Canvas
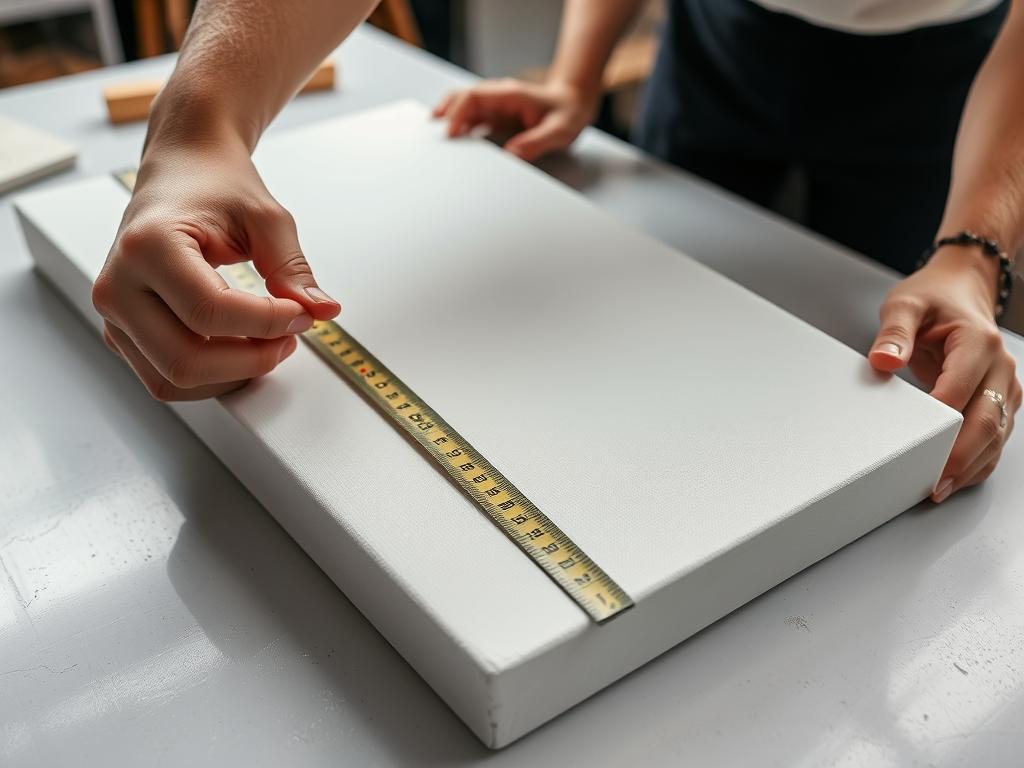
Proper measurement is crucial for a successful framing project. For pre-stretched canvases, you'll need to measure both the visible front dimensions and the depth of the stretcher bars.
How to Measure Your Canvas
Stretching an Unstretched Canvas

The proper technique for stretching canvas over stretcher bars
If you're working with an unstretched canvas, you'll need to stretch it before framing. Follow these steps for professional results:
Pro Tip: Don't pull the canvas too tight during stretching. Canvas needs some flexibility to expand and contract with humidity changes. Aim for drum-tight but not overstretched.
Professional Framing vs. DIY: Making the Right Choice
Before diving into the framing process, consider whether professional framing or DIY is right for your project. Each approach has its advantages and limitations.
| Consideration | Professional Framing | DIY Framing |
| Cost | $100-$400+ depending on size | $20-$100 for materials |
| Time Investment | 1-2 weeks turnaround time | 2-4 hours of active work |
| Skill Required | None (done by experts) | Basic measuring and assembly skills |
| Quality | Museum-grade materials and precision | Good to excellent with proper materials |
| Customization | Unlimited options but costly | Limited to available frame styles |
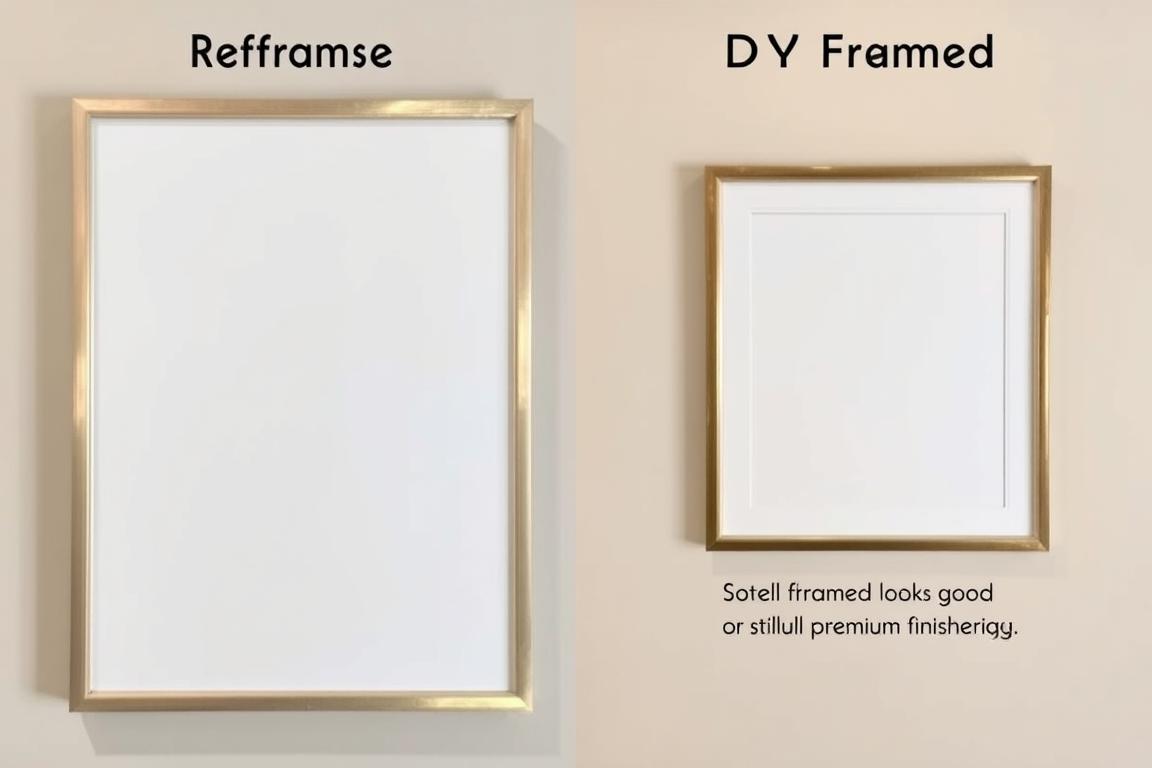
Professional framing (left) vs. DIY framing (right) - both can achieve excellent results
Types of Frames for Canvas Paintings
| Frame Type | Best For | Average Cost | DIY Difficulty |
| Standard Wood Frame | Traditional artwork, thin canvases | $15-$50 | Easy |
| Floater Frame | Gallery-wrapped canvases, modern art | $25-$75 | Medium |
| Metal Frame | Contemporary artwork, durability | $30-$90 | Medium |
| Custom Built Frame | Odd-sized canvases, specific styles | $40-$120+ | Hard |
Step-by-Step Guide to Framing Your Canvas Painting
Now that you've measured your canvas and chosen your frame type, it's time to put everything together. Follow these steps for a professional-looking result.
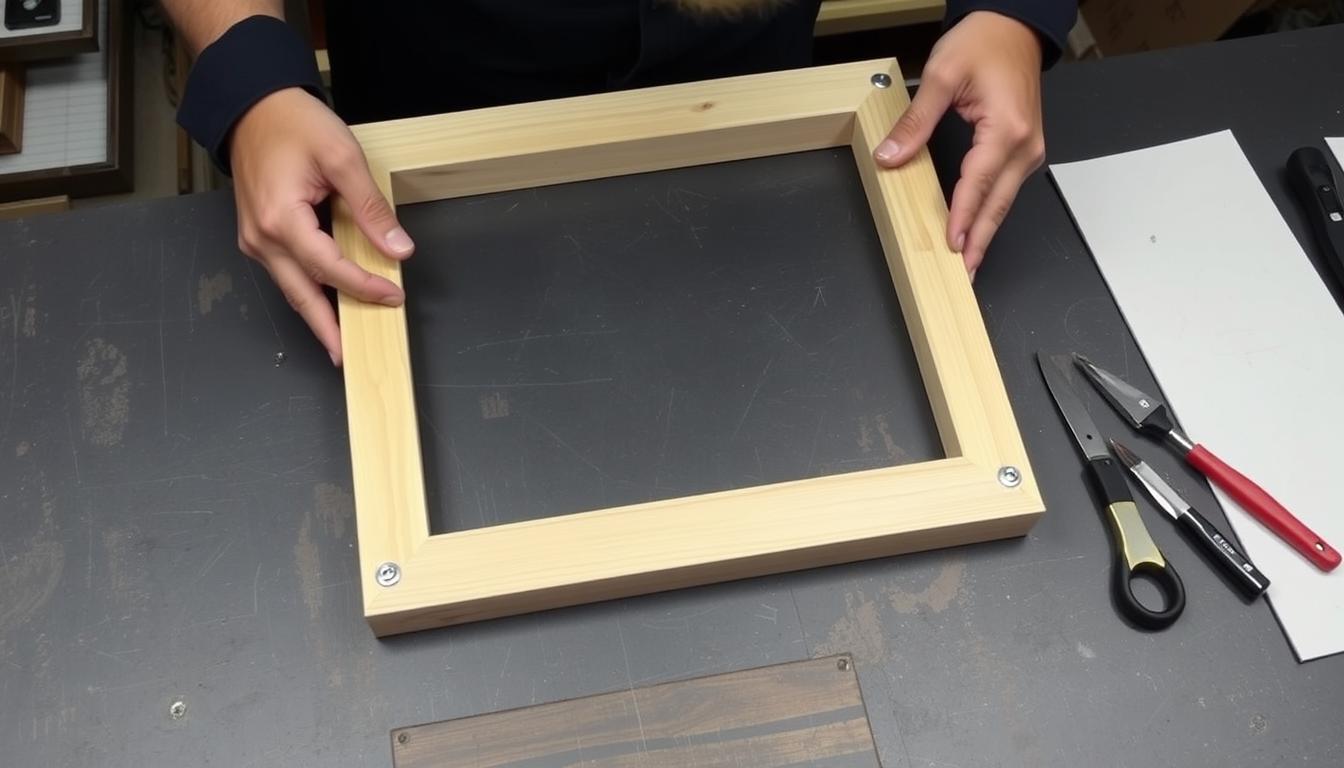
Method 1: Using a Standard Wood or Metal Frame
- For offset clips: Position clips around the perimeter and screw into the frame
- For points: Use a point driver to insert points into the frame rabbet
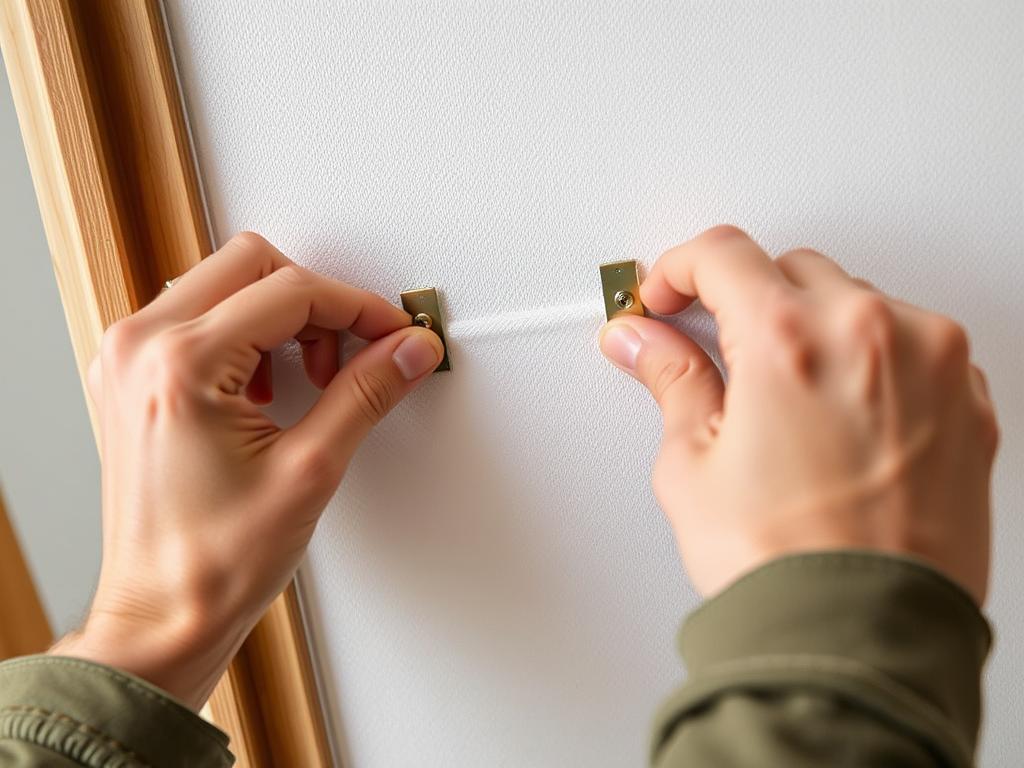
Proper installation of offset clips to secure canvas to frame
Method 2: Using a Floater Frame

The "floating" effect created by proper floater frame installation
Pro Tip: When using a floater frame, measure twice to ensure your canvas is perfectly centered. The floating effect highlights any misalignment.
Decorative Framing Styles for Canvas Paintings
The right frame can dramatically enhance your artwork. Consider these popular framing styles for canvas paintings:

Popular framing styles for canvas paintings (L-R): Floater frame, ornate traditional frame, modern metal frame, and gallery wrap
Floater Frames
Creates the illusion that the canvas is floating within the frame, with a visible gap between the canvas edge and frame. Perfect for gallery-wrapped canvases and modern artwork.
Gallery Wraps
Not technically a frame, but a style where the canvas wraps around thick stretcher bars with painted edges. Can be displayed without a frame for a contemporary look.
Traditional Frames
Classic wood frames with decorative profiles. Can range from simple to ornate. Adds a timeless, finished look to canvas paintings, especially for traditional subjects.
Frame Selection Tip: Choose a frame that complements your artwork without overwhelming it. For busy, colorful paintings, consider simpler frames. For minimalist artwork, you can opt for more decorative frames.
| Painting Style | Recommended Frame Style | Why It Works |
| Abstract/Modern | Floater frame or simple metal frame | Maintains focus on the artwork without competing visually |
| Traditional/Classical | Ornate wood frame with gold or silver finish | Complements traditional techniques and subjects |
| Impressionist | Medium-profile wood frame with subtle detailing | Balances the soft techniques without overwhelming |
| Minimalist | Thin profile frame or gallery wrap (no frame) | Maintains the minimalist aesthetic |
Common Mistakes to Avoid When Framing Canvas Paintings
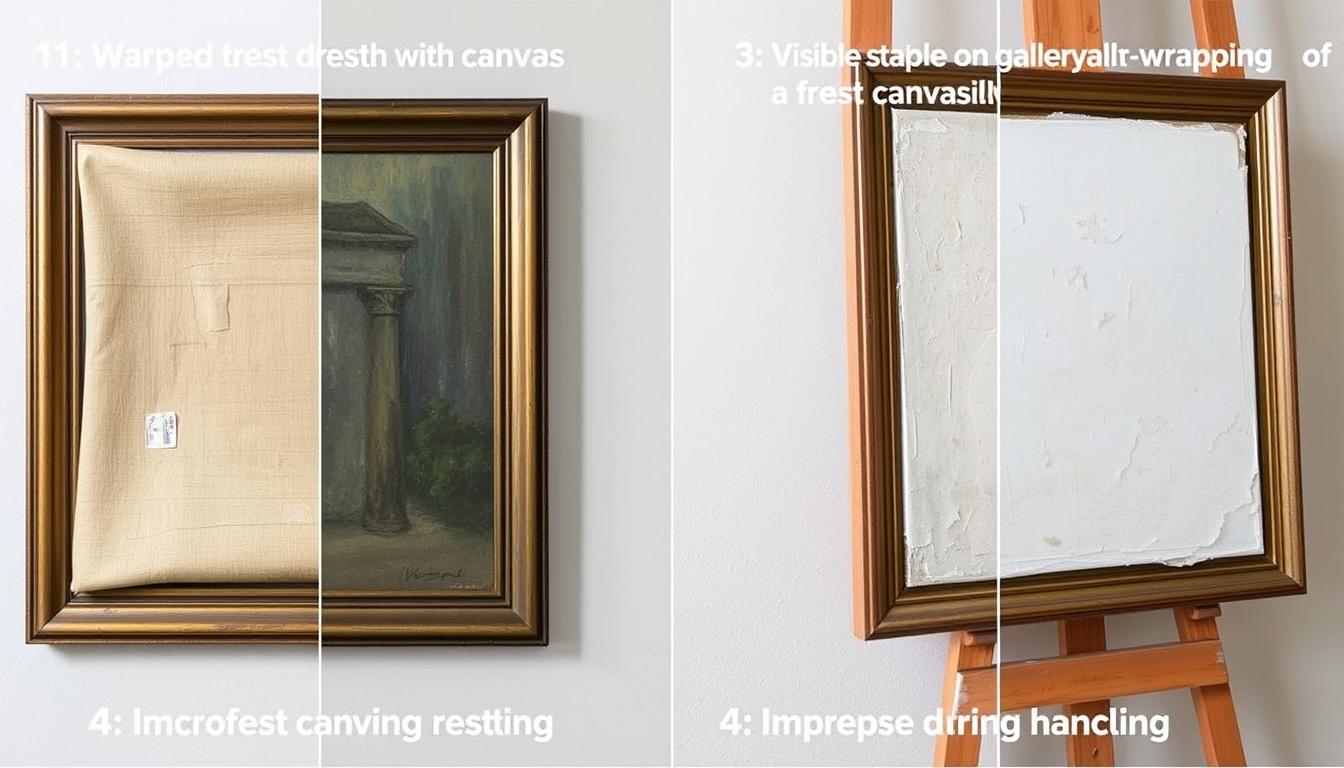
Common framing mistakes that can diminish the appearance of your artwork
Even small mistakes can affect the final appearance of your framed canvas. Here are the most common pitfalls to avoid:
Common Framing Mistakes
- Choosing the wrong frame depth: Frame rabbet must be deep enough to accommodate canvas thickness
- Improper canvas tension: Too tight or too loose stretching causes warping over time
- Incorrect measuring: Not accounting for the full dimensions including stretcher bars
- Poor corner joins: Gaps at frame corners look unprofessional
- Inadequate hardware: Using lightweight hanging wire for heavy canvases
Best Practices
- Measure twice, cut once: Double-check all dimensions before purchasing frames
- Use proper tools: Canvas pliers and a quality stapler make stretching easier
- Check frame depth: Ensure the rabbet depth accommodates your canvas thickness
- Secure corners: Use corner braces for larger frames to prevent separation
- Install proper hardware: Use D-rings and appropriate gauge wire for hanging
Warning: Never staple or nail directly through the front of your canvas into a frame. This damages the artwork and reduces its value. Always use proper mounting methods that keep the canvas intact.
Preservation Best Practices for Framed Canvas Paintings
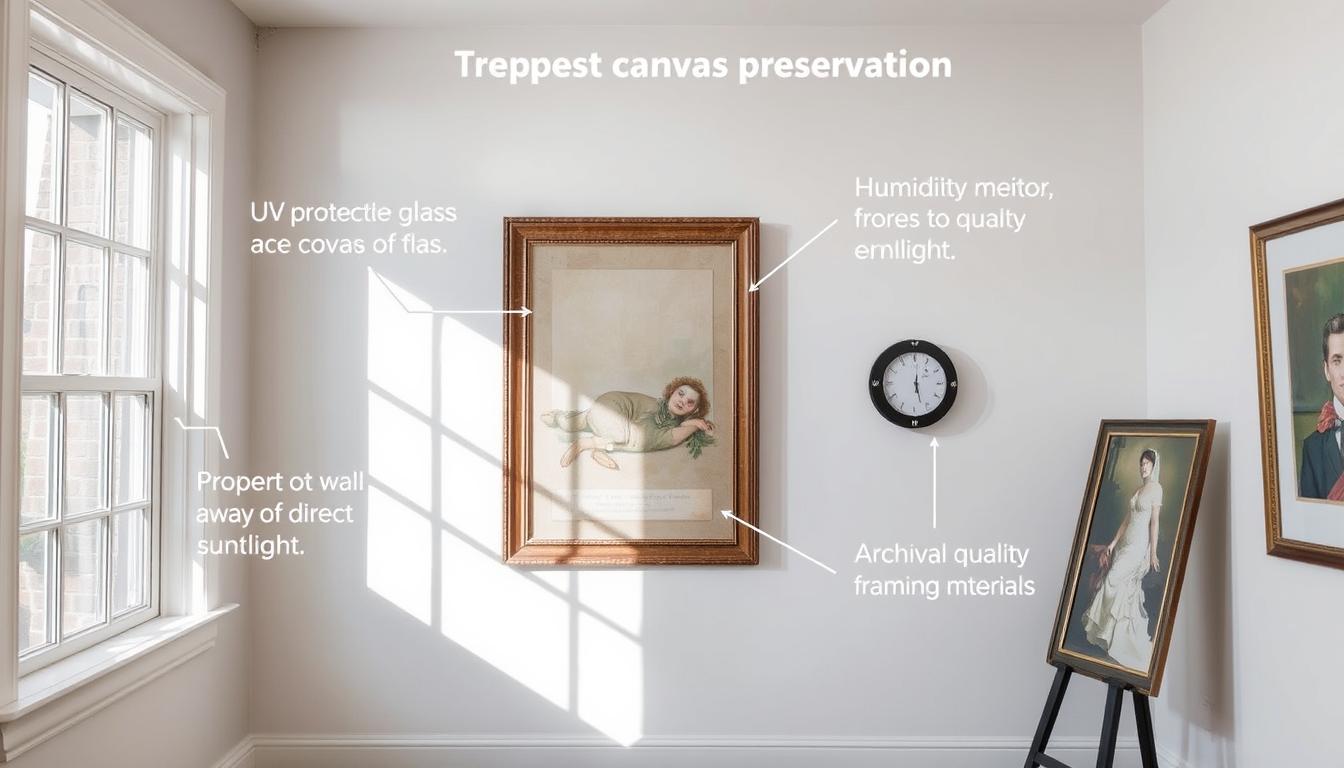
Proper preservation techniques extend the life and beauty of your canvas paintings
Properly framing your canvas is just the first step in preserving your artwork. These additional practices will help maintain your painting's condition for years to come:
Did You Know? Oil paintings should be allowed to fully cure (6-12 months) before being placed under glass. Acrylic paintings can be framed with glass immediately, but should have spacers to prevent the canvas from touching the glass surface.
Ready to Frame Your Canvas Masterpiece?

Framing your canvas painting doesn't have to be intimidating or expensive. With the right tools, materials, and techniques, you can create a professional-looking frame that enhances your artwork and protects it for years to come.
Remember that the frame you choose should complement your artwork without overwhelming it. Whether you opt for a traditional wood frame, a modern floater frame, or a simple gallery wrap, the goal is to present your canvas in its best light.
By following the steps in this guide and avoiding common mistakes, you'll be able to frame your canvas paintings like a pro. Your artwork deserves to be displayed beautifully—and now you have the knowledge to make that happen!
Can you frame a canvas in a floating frame?
Yes, floater frames are specifically designed for canvas paintings. They create a small gap between the canvas edge and the frame, giving the appearance that the canvas is floating. This style works particularly well for gallery-wrapped canvases and modern artwork.
What is the best way to frame a canvas painting?
The best framing method depends on your canvas type and personal preference. For gallery-wrapped canvases with painted edges, floater frames are ideal. For thinner canvases, traditional frames with a deep enough rabbet work well. Always ensure your frame's depth can accommodate your canvas thickness.
How do you frame a canvas at home?
To frame a canvas at home, you'll need the appropriate frame, offset clips or points, and basic tools. Measure your canvas carefully, assemble your frame, position the canvas, and secure it using offset clips or points. Add hanging hardware to complete the project. The entire process typically takes 2-4 hours.